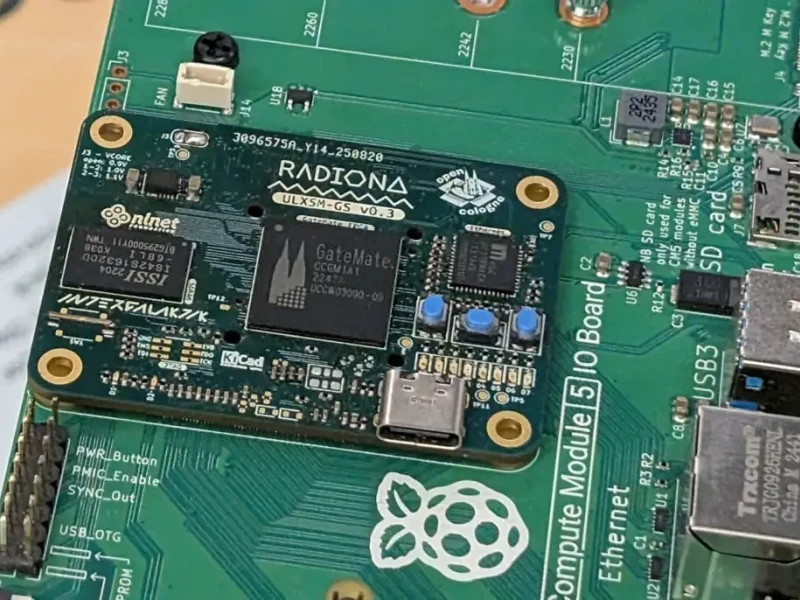
BB3-CM4 - PCB
At the start of 2023. NLnet decided to sponsor the development of BB3-CM4.
Check more details here:
https://nlnet.nl/project/BB3-CM4
https://www.envox.eu
Design Hardware
After our last BB3-CM4 post when we just experiment with importing boards from Eagle and connecting two different designs
https://intergalaktik.eu/news/bb3-cm4-kicad-importing
The time has come to switch to a design of BB3-EEZ board!
Adding License
As always we stick to open source license https://github.com/intergalaktik/bb3-cm4/blob/main/LICENSE.md
BB3-CM4 is Licensed under CERN-OHL-S v2 or later
Startup point
After our last BB3-CM4 post when we just experiment with importing boards from Eagle and connecting two different designs
https://intergalaktik.eu/news/bb3-cm4-kicad-importing
And our next task is to convert a BB3 MCU board to a CM4 compatible carrier board!
We will start our work on board that we imported from Eagle in our last post.

Grouping parts
First thing we want to do is to split the base board and MCU into two sections.
Easy way to do that is to select all related parts in schematics in this example MCU section.

Then you can use add to group in PCBVew as they will be selected.

Once you have a group of different schematic parts you can move those away from the main board and do some sorting and cleaning. As we want to preserve MCU parts for later we will just nicely sort those parts to be ready for our next board…
I have also added a CM4 footprints - one for MCU section and one for baseboard.

Now you can split those two boards apart, make directory copy of complete project.
In one you can delete all MCU related parts, in second you can delete all baseboard related parts.
And you will have a starting point for two projects - the first one will become a CM4-BB3 carrier board and the second one will be ready for creating CM4 compatible STM32 board.
After cleaning baseboard looks like this:

It is time to add up!
We have decided to add ICN6211 (DSI to RGB) . It will be hard to get it to work with raspberry CM4 but it will be good exercise for versions with ULX4M.
If we somehow get it to work with CM4 and STM32 it will allow users of older BB3 models to use the same screen.

To be sure we can get picture before we deal with ICN6211 we will put DSI connector on board.

And we will do more routing...

And bit more routing!

PCIe
At the end we decided that we would like to have a drop -in replacement for the old BB3 but we do want PCIe, so we added a USB connector that will be used with this widely available PCIe extension board.

Say hallo to BB3-CM4 board design!
In progressing we have also changed passive components size to 0603.
As module connector is almost impossible to solder with hand soldering we will switch all other components to smaller packages, that will provide us more space for routing.
Ethernet needed reconnections as it is now directly connected to SoM connector.
Adding logos is also important step - OSHW, KiCad, Envox, Intergalaktik, Radiona, NLnet.

Few fixes and we have fresh and shiny 3D model, and our BB3-CM4 board is ready for ordering.

Hands on!
A week after order boards arrived at Intergalaktik.

And in no time I had it assembled.

Those Hirose connectors are painful to solder, so there were lots of soldered pins, and lots of shorts so it took a day once I cleared those.
But I have checked and both CM4 and ULX4M fitted perfectly!


So many problems on such a small board!
Even after having all Hirose perfectly connected CM4 did not boot :(
It took some time until I found all the problems, they are all logged here:
https://github.com/intergalaktik/bb3-cm4/issues
ICN6211 might blocking DSI
QuickFix applied - ICN6211 removed
To get all pins working on CM4 we will need to add I2C extender chip
QuickFix applyes - connected PWR start to 3.3V - all other not connected pins are not crutial
I2C0 and I2C1 are separated, but DSI I2C expects to be on I2C0 and we have it connected to I2C1
QuickFix - brick them all - real solution would probably be to create different custom dtb/dts files?
CM4 HDMI caps/resistors
QuickFix - remove caps - put 0 ohm resistors ( real resistor value should be calculated) , for now 0ohm works for CM4 and for ULX4M
HDMI is too close to 12V connector
QuickFix - cut it!
CM4 does not start as
Remove IC5 as 3.3V should arive after 5V
Connect 3.3V to GPIO_VREF it was left unconnected
PILEDnPWR is tight to 3.3V and that needs to be removed, after that CM4 starts but in wrong boot mode, it will be shown as device once USB is connected
Remove IC2 as it holds BOOT pin in wrong settings
And ....
Tadaaaa it boots!

Just check with more addons.

In the case we go!
So let’s put this board into the BB3 case!

Close the case and switch the power on!

And now SW part!
We can now use front USB connector to connect wireless keyboard/mouse combo over mini USB OTG cable.
Or we can connect USB HUT to USB OTG and connect everything we want on the front side.
Back to software!
First thing I tried was to compile EEZ studio for CM4 and it worked.
So I have loaded a LVGL sample and it runs really nicely from the studio!
Is simulator the way to go?
After that I have talking with Martin from Envox, and he suggested that we can use simulator FW for Linux.
That would give us almost everything a real machine has, except SPI communication with modules, so we give it a go!
After solving simple error

It builds and runs!

Big advantage of CM4 and Linux is that I can now connect over network - you can see here that I am connected over VNC.
Warp Speed Ahead!
Annndddd it is crazy but we have working firmware on the CM4 module version!
Code is located under sim-no-frame branch
Talk to the modules!
As the last step in confirming the current situation with HW I tryed simple SPI communication from python.
It did not work until Denis told me I needed to power up meanwells with a PWR pin that was not connected to CM4.
So I just connected that pin to 3.3V and the meanwels started and provided power to the DCM module.
After after that I have tried SPI and look at that I got the answer from the module!

Next steps...
Martin is working on getting example of creating LVGL firmware for Linux machines, that will also help is someone will start working on BB3-CM4 from 0 and does not need current features!
It could also be attractive for other Linux users to check studio and create some interesting GUIs.
As for our next steps, we have asked for extension of this project and it is approved, so next step will be to create STM32H7 SoM module.
Also we have approved grants additional for EMC experiments, in those we will try to create a small DIY chamber for pre-compliance measurements...
Article update
Things move fast!
Martin already managed to create lvgl-sdl reposiory, and now you can use studio to create fancy apps on your favorite linux...
https://github.com/eez-open/lvgl-sdl-demo


Contact
Radiona/intergalaktik discord: https://discord.gg/qwMUk6W
Envox discord: https://discord.gg/btKVC5sedG
Many thanks to NLnet for sponsoring our work!
By: Goran Mahovlić
This project is funded by NLnet https://nlnet.nl/project/BB3-CM4/
This project was funded through the NGI0 Entrust Fund, a fund established by NLnet with financial support from the European Commission's Next Generation Internet programme, under the aegis of DG Communications Networks, Content and Technology under grant agreement No 101069594.


Tagged
You might also like
-
ULX4M-LD v0.0.1 - NLnet funded FPGA board
- Written by Intergalaktik d.o.o.
- Published on
-
BB3-CM4 - importing and combining boards from Eagle
- Written by Intergalaktik d.o.o.
- Published on
-
Blending ULX4M-LD
- Written by Paula Bučar
- Published on
-
Heise.de Covers ULX5M-GS FPGA Module with GateMate Chip
- Written by Intergalaktik
- Published on
-
Blending ULX4M - NLnet funded FPGA board
- Written by Paula Bučar
- Published on