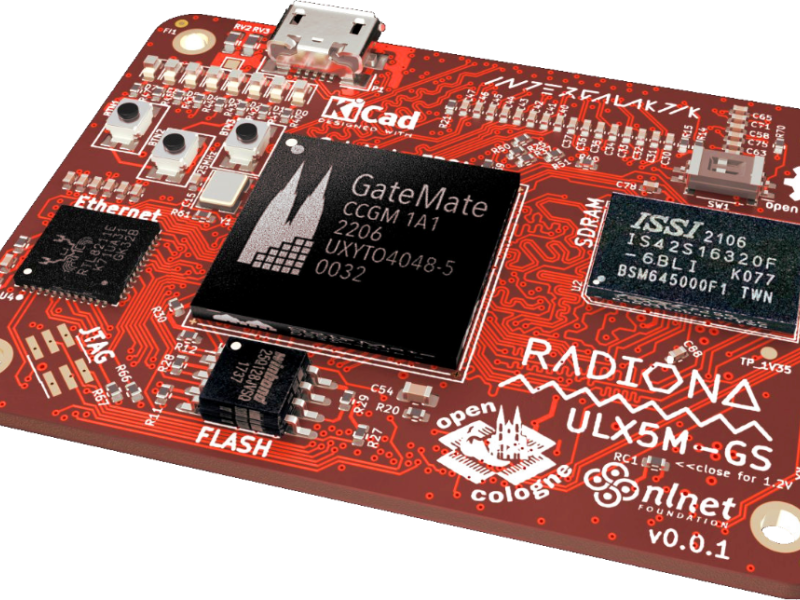
At start of the 2021 NLnet decided to sponsor development of modular FPGA board ULX4M (Successor of EMARD ULX3S).
As a part of this project NLnet is supporting us to discover the new world of 3D modeling and 3D animation as a possibility of presenting a product through visualization and animation in Blender.
Previous blender work
We've described some steps in previous articles:
http://lemilica.com/archives/3141
https://intergalaktik.eu/news/blending-ulx4m-nlnet-funded-fpga-board
https://intergalaktik.eu/news/blending-ulx4m-ls-v002
Making layers of ULX4M


First they are exported from Kicad as svg. file and imported into the Blender. The layer contains a lot of small parts that need to be joined (Ctrl+J) and then converted into a mesh in order to clean the geometry from unnecessary surfaces.
After cleaning the geometry (MBXL) it is necessary to convert the mesh into a curve if we want to get a full form in accordance with the thin elements such as lines that the layer contains.

If it is not switched to mesh first, it is not possible to clean the geometry, the abbreviation MBXR does not perform its function. Also, if it is not transferred to a curve later, it is not possible to extrude out some parts and the whole layer takes a negative form which means it turns everything into a surface and not a line.
Convert everything into a mesh, clean the geometry and convert into a curve
In Object Data Properties you should mark the 3D type of curve and adjust the Extrude and Bevel Depth. A very low value works for me, Extrude: 0.000002 m and Depth: 0.0001 m

When board layers are stacked one behind the other they create shadows that don't look good in animation. I unchecked the Cast Shadow box in the Object Data Properties of the lighting object.
Blender recognizes the color of the imported object saved in the SVG file. So I kept the color and the material and made small adjustments in Material Properties, such as emission effect and color correction.

Animation
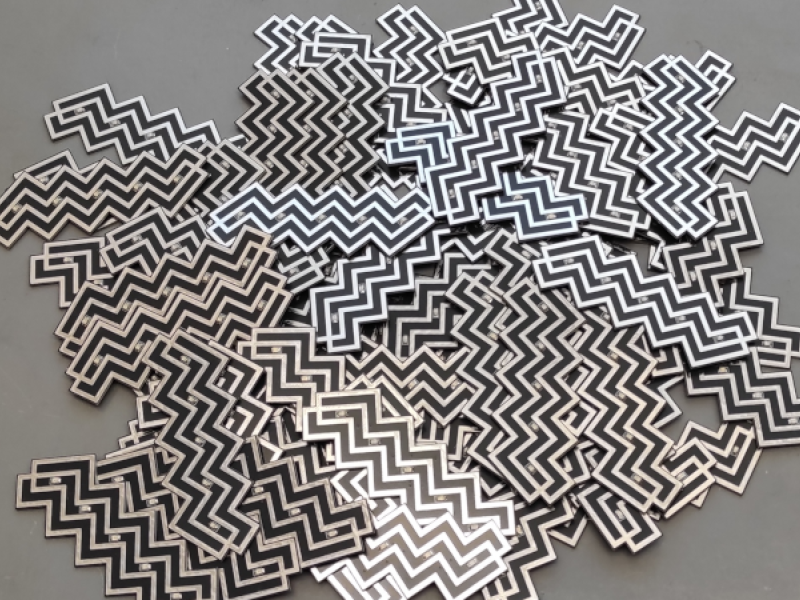
I wanted to use the pattern of one layer of the board to create a scene or space in which it will be placed. The pattern looked good as a base on the scene. I tried to place it as a background, but it was not neutral enough and does not interfere with the board as the main object. Due to the depth of the scene and the position of the camera, it was necessary to increase the number of patterns, so I joined several of the same layers into one. I set the color to emission to get brighter lines and the world color to black because it contrasts well with all the other luminous objects. The pattern is placed vertically in front of the camera and in two keyframes it descends as a base on which the board appears and slides towards the foreground.
This required keyed location and rotation. When the position of the object whose transforms are to be keyed is set, it can be done by pressing the I key after selecting one of the axes in the Transforms menu. The yellow color of the keyed axis indicates the placement of the keyframe.

I added a Curve Circle to be a motion path for the Camera. After that the camera is parented to the Empty-Cube which is used as an object/bone for following a path. Access this option through Object Constraint properties and target Curve Circle within a Drop Down menu. When the Follow Curve and Fixed position are enabled, there is the Offset Factor slider which controls position of the camera on the Curve Circle and it’s optional for keying.
More about it can be found at the link below
https://intergalaktik.eu/news/blending-ulx4m-ls-v002
The appearance of the board is controlled only by the keying scale and location values found in the Transform options. The same applies to layers that appear in sequence.

The random blinking of the LEDs is made in the Shader Editor.
More about it can be found at the link below
https://intergalaktik.eu/news/blending-ulx4m-ls-v002
DaVinci Resolve software
After rendering, the animation was further processed in the DaVinci Resolve software which combines editing, color correction, visual effects, motion graphics, audio post production and it is free software.
When a new project is created. Right-click in the media workspace - select Import Media - insert the animation into the timeline.

We move to the Edit workspace. To set the title layer in the Toolbox menu, select Titles - there is a menu on the right side and select Text+ because it gives us some options that ordinary Text does not have such as examples of motion. We drag Text+ to the timeline above the video layer, by dragging the right edge of the layer we correct the duration.
In the upper right corner there is an Inspector button that opens options for the selected layer. In this case we have a menu for editing the text we want, its position and keying some motions.
That's how all the text parts in this video were made. The second part, which in the video will be lines directed by names and are visible as a purple layer on the timeline, can be found in the Toolbox menu under the Generators options. We select Solid Color, drag it to the timeline and, under the Inspector options, rotate the crop area to the desired dimension of the line. Once made, the line is pasted and only the position and rotation is changed.
The third step is to freeze one frame to extend its duration. Right click on the video layer - Retime Controls. Now the video layer gets other labels, among others a small black triangle / arrow pointing down, click on the arrow - Freeze frame. Now on the timeline we get two small sliders that we place at the beginning and end of the frame we want to extend. It is possible to place multiple Freeze frames within one video by repeating the described process.

Fourth step - setting video transitions / We use video transitions to get a soft transition when changing frames or layers, select Video Transitions under the Toolbox menu - drag the desired transition to the edge of the video clip - its duration can also be corrected by dragging the right or left edge.
Fifth step - importing music. We import the audio in the same way as the video clip, we place it under the video layer on the timeline, that is, the Audio 1 section. By moving to the left or right, we set the time at which we want the sound to start. With the Blade Edit mode icon, we take the cutting tool and use it to break the tapes where we want to end. Also applies to video tape cutting. In the Fairlight workspace, we can make corrections on the audio track. In this case, we want to correct the volume in general. By raising and lowering the white line on the audio bar, it will allow you to decrease and increase the volume of the entire track.

Sixth step - color correction In the Color workspace, under the Gain wheel, white was corrected from 1.00 to 1.64 value.
Seventh step - export - name and location, format, resolution and Frame rate are already set, then press Add to Render Queue.
Select Job and Render All
We are still working on final animation - but here is what we have now
By: Paula Bučar
This project is funded by NLnet https://nlnet.nl/project/ULX3M/

Tagged
You might also like
-
Intergalaktik at Career Days 2026, Algebra Bernays University
- Written by Intergalaktik
- Published on
-
FPGA ULX5M presented @ CERN
- Written by Intergalaktik
- Published on
-
DIY-EMC-chamber pyramid
- Written by Intergalaktik d.o.o.
- Published on
-
ZigZag e-Badge on BSides Zadar 2025
- Written by Intergalaktik
- Published on
-
OpenCologne – extensions and ULX5M presentation
- Written by Intergalaktik
- Published on


