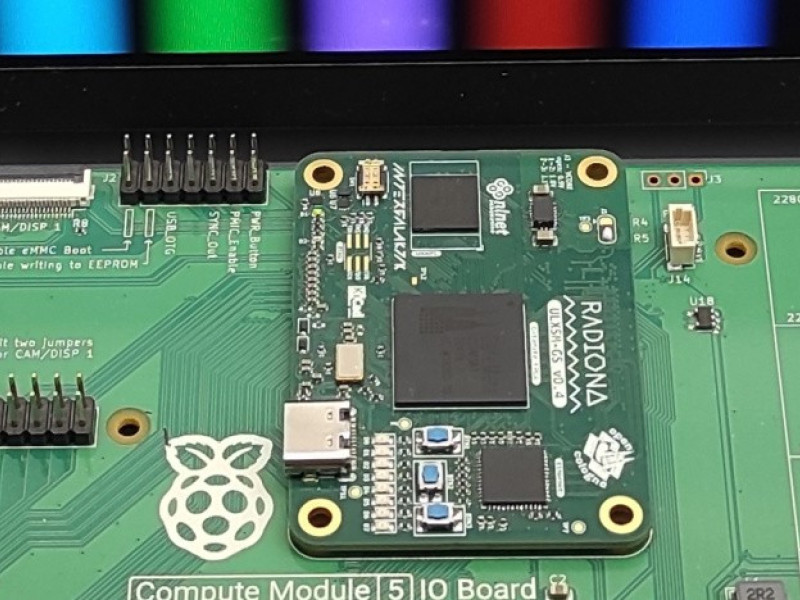
At start of the 2021 NLnet decided to sponsor development of modular FPGA board ULX4M (Successor of EMARD ULX3S).
As a part of this project NLnet is supporting us to discover the new world of 3D modeling and 3D animation as a possibility of presenting a product through visualization and animation in Blender.
Previous blender work
We've described some steps in previous articles:
http://lemilica.com/archives/3141
https://intergalaktik.eu/news/blending-ulx4m-nlnet-funded-fpga-board
KiCad- button change
While importing wrl.file into the Blender we noticed that buttons are missing even though we could see them in the KiCad 3D view. By selecting cooper footprint and pressing "e" on keyboard, the footprint properties panel will open. Under 3D setting there are links for buttons which should be relinked or changed for some other design. Components that you may use are listed on the File icon below the links and under the package Button switch.

Export wrl properties
To the export wrl. file set the units to millimeters and check the boxes for Copy 3D model files to 3D model path and Use relative paths to model files in board VRML file

Imported wrl. file to Blender - this is the best option we tried for now because it gives us all colors, materials, coper layer, silk layer and holes connected as one layer. Only components are disassembled to the faces.

All components on the same side are joined to the one object and function as layer.
Now they all share one origin or pivot point.
If the origin is not centered then use right click- Set Origin- Origin to Geometry.

Select all layers and parent them on the base (green) board (Ctrl+P) parent - object keep transform

Clean up the model
When the model is imported from KiCad to Blender it has too many faces which make the file very large.
To reduce number of faces we clean up the geometry (M-B-X-L) You can read more about on the link below
http://lemilica.com/archives/3141
Create a Materials
I have changed materials to some components and the base of the board.
The way to create a simple material for a certain object will be applied trough Material Properties.
In edit mode we can chose faces of the object we want to change material.
Mostly I changed Base Color, Metallic, Specular and Roughness.
For the plastic material which has no reflections roughness should be increased, Metallic and Specular decreased.
Metallic surfaces which have no reflection would have metallic and roughness effect increased.
To apply material on certain faces, Assign button needs to be checked.
Objects can share the same material and if you change some properties to the material all components that were covered will have an update, which is very helpful.

Applying textures
Chip labels are png files imported through a Base color as Image texture.
You create a new material which contains image texture.
To apply it on the surface we need UV Editor and Unwrape the texture over the selected faces.
Already described in previous article, you can read more
https://intergalaktik.eu/news/blending-ulx4m-nlnet-funded-fpga-board
Select faces - right click - UV Unwrap Faces – Project from View (Bounds).
The last option gave the best result, if the Unwrape did not work properly you can fix the position of vertices manually by moving (G) them on the X or Y axis.
Animation
I added a Curve Circle to be a motion path for Camera.
After that camera is parented to the Empty-Cube which is used as object/bone for following a path.
Access this option through Object Constrain properties and target Curve Circle within a Drop Down menu.
When the Follow Curve and Fixt position are enabled, there is the Offset Factor slider which controls position of the camera on the Curve Circle and it’s optional for keying.
Pressing I key will open Insert Keyframe Menu, selecting Location & Rotation & Scale will keyframe only these properties on the Timeline.
After a camera, I keyed position of layers and components on the Y axes and synchronize it with camera movement.


For the LED-s I created an object separately from the existing component that contains three faces and covers original shape of LED and multiplied it, then parent it to the original shape.
This time I decided to try random LED blinking and made it through Shader nodes in the Shader Editor.
First Add (Shift A) Emission node, connect it to surface of Material Output node, bring Object info and Color Ramp node.

Choose color in the Color Ramp slider, pressing + you can add colors as many as you like.
Connecting Random from Obj. Info to the Vector to the Fac of the Color Ramp would bring random material to the selected objects.
I set two colors, blue and yellow, blue is for light turned on and yellow light turned off.
Wave Texture node come’s between Obj. Info and Color Ramp node.
Random is connected to Vector and Color from Wave Text. to Material Output, Displacement. By changing Scale parameters, we control speed and randomness of blinking lights.
Pressing I on the Scale value will add a keyframe on the timeline.
For neon, foggy brightness check the Bloome box under the Render properties.
Lighting the scene
Three lights were set to the scene.
Two of them are lighting from above and one from below.
All of them were parented to the camera, so the light would be constant when the camera is moving.
One of the problems were the shadows, every object has its own shadow options and we had to turned them off.
Under Material Properties there is Shadow Mode which has by default Opaque shadow mapping method, it should be changed to None.
Under Object properties there is another option for Shadows by the Viewport display, so uncheck the box.
Third option is under Render properties and there you can change resolution of shadows which is not significant to our needs for this animation.
Light source is an object too, it has the same shadow properties which needs to be turned off.
Background
We will use this free nebula world
https://www.artstation.com/marketplace/p/3low/nebula-hdri-free
World setup is really easy - you can check here: https://www.youtube.com/watch?v=6VBkj_I-ONk

Final results
By: Paula Bučar
This project is funded by NLnet https://nlnet.nl/project/ULX3M/

Tagged
You might also like
-
ULX4M-LD v0.0.1 - NLnet funded FPGA board
- Written by Intergalaktik d.o.o.
- Published on
-
BB3-CM4-H7
- Written by Intergalaktik d.o.o.
- Published on
-
Intergalaktik’s ULX5M-GS FPGA Module Featured in Golem.de
- Written by Intergalaktik
- Published on
-
Intergalaktik at Career Days 2026, Algebra Bernays University
- Written by Intergalaktik
- Published on
-
ZigZag e-badge on OSHWA Show & Tell
- Written by Intergalaktik
- Published on


